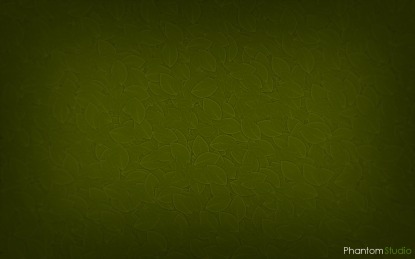
Alright, here is the latest update. It's another PS to Gimp project that I did by using Vlad's tutorials for PS and translating them into Gimp. There will be a tutorial for this wallpaper so just be patient. It's in the woiks right now.
|
Alright, here is the latest update. It's another PS to Gimp project that I did by using Vlad's tutorials for PS and translating them into Gimp. There will be a tutorial for this wallpaper so just be patient. It's in the woiks right now.
62 Comments
As you can see I have been gone for just at six weeks now. I went on vacation to go visit most of my family. I had to travel through six states to do so. I had a great time, made some great memories, and even better pictures. Im a little sore from going to the lake/river almost every weekend but it was a blast. I just finished the new website banner. I was having a hard time trying to come up with one that looked professional but showed a little humor. I hope you guys like it. 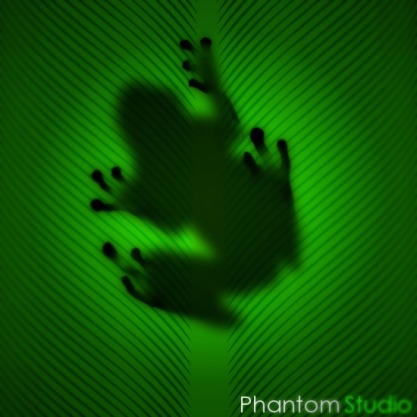 Yet another inspiration from Vlad. Again, 100% done in Gimp. This was easy to make it just took time with the lines and all. Hope you guys like it. 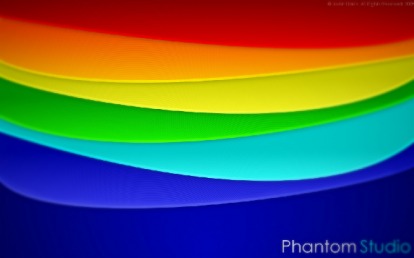 In this tutorial I will show you how to create the Abstract Rainbow wallpaper that I made. The concept goes to VladStudio, I am merely translating it into a Gimp tutorial. Step 1:  Step 2:  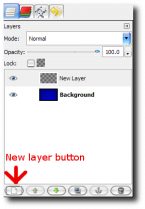 Step 3: 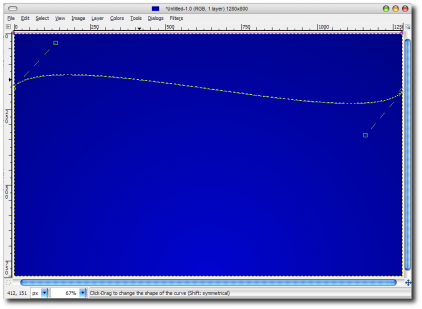 Step 4: 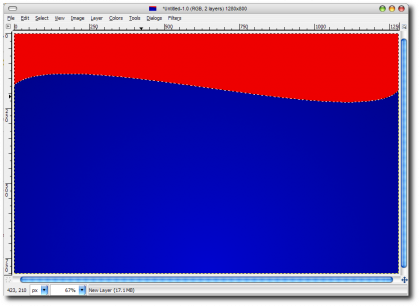 Step 5: 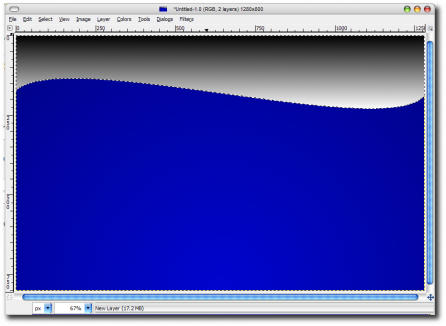  Now select the Mode > Overlay. This should give you a very pleasant dark to light effect on your new layer. This will also help darken the colors just a bit to give it a more pleasant look. Step 6: 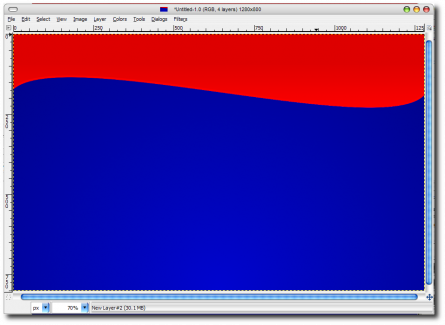 Step 7: 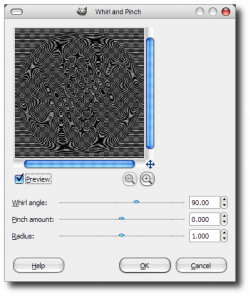 Step 8: Step 9: 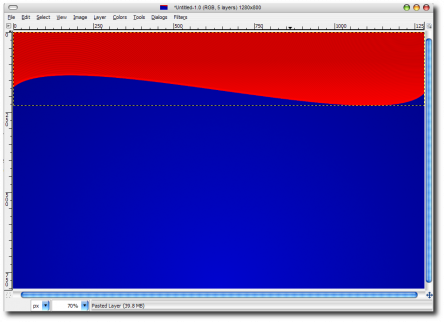 Step 10: 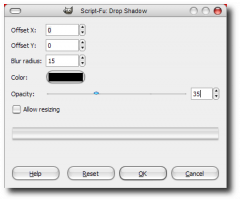 Step 11: Now that you have your firs layer done you can continue on to the other layers by repeating the same step above. For the final step we need to create a fading blur effect that starts in the center and blurs outward towards the sides. We can achieve this by selecting the Quick Mask button in the bottom left hand corner of the canvas window. Once selected you should have a semi transparent red layer above your canvas. Now we need our gradient tool again. For this effect we need to have our foreground set to Black and our Background set to White and to set our Shape to Bi-Linear. We need to click in the middle of the canvas then drag towards the side of the canvas. This should give us a faded red section in the middle of our canvas, like so. 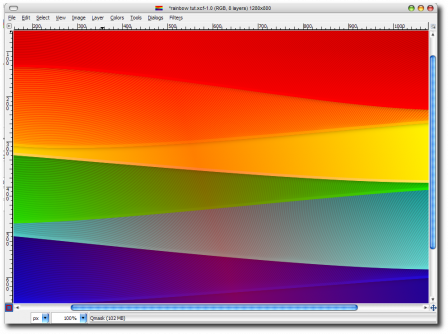 Now that we have our faded red area we can click the Quick Mask button again. This will give us a selected area that will look like this. 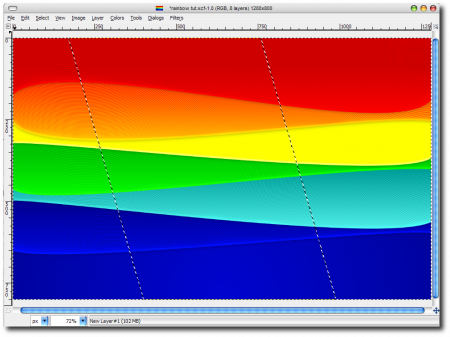 With our selected area ready we need to press Ctrl-C and then Ctrl-V. Then press the New layer button to flatten anchor the layer. Now we need to go to Filter>Blur>Gaussian Blur and set the Blur Radius to 18. This will give us the faded blur effect. And there you have it. You have just created a very professional looking piece of art with in a matter of minutes. To top it off, you did this in a free program instead of a $999 program. I have always wanted to use a fading blur effect in Gimp, BUT, i have never figured out a way to do it until now. It's actually very easy to do. So, I'll take you step by step on how to pull off a fading blur in a number of different ways.  Step 2: 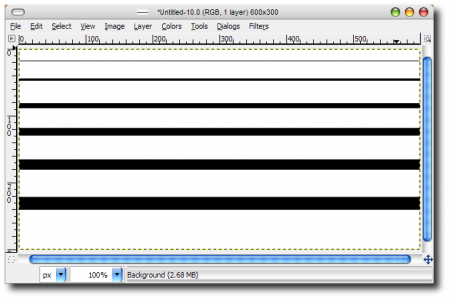 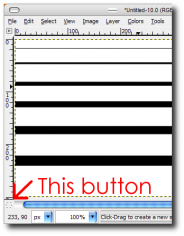 Step 3: Step 4: 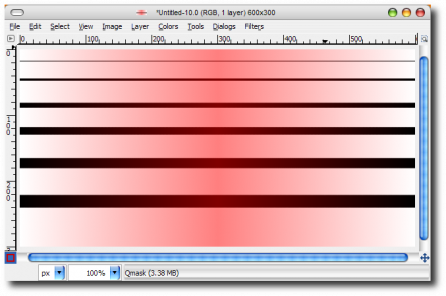 Step 5: 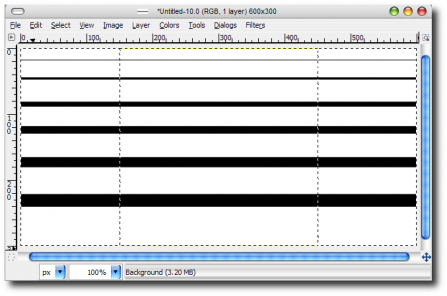 Step 6: Step 7:  And there you have it. We have just successfully given our image a fading blur. Below I have some example of using a radial gradient instead of a Bi-Linear gradient. 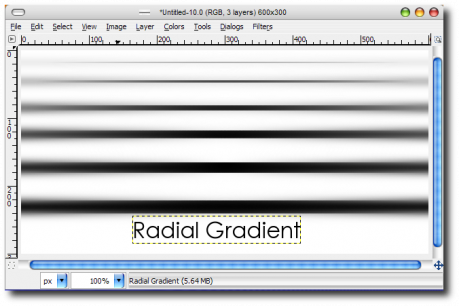 If you found this helpful please comment and don't forget to visit My DeviantArt Page.  I got the idea from VladStudio. He does all of his work in Photoshop and I do all of mine in Gimp so it was a little difficult translating effects over into Gimp but over all it was pretty easy. |
PhantomMy name is Justin Davis aka Phantom and I am the administrator/owner of Khaos Forums. I use The Gimp as my main editing platform along with Illustrator and Photoshop. I will be posting Gimp help, Gimp tutorials, reviews of movies, news topics, new additions to the forum, and other goodies. Archives
August 2008
Categories |
 RSS Feed
