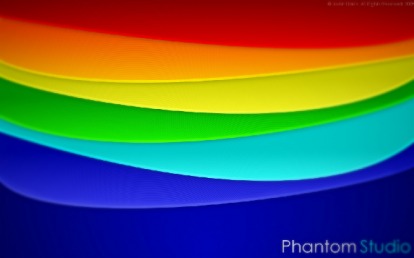
In this tutorial I will show you how to create the Abstract Rainbow wallpaper that I made. The concept goes to VladStudio, I am merely translating it into a Gimp tutorial.
Step 1:
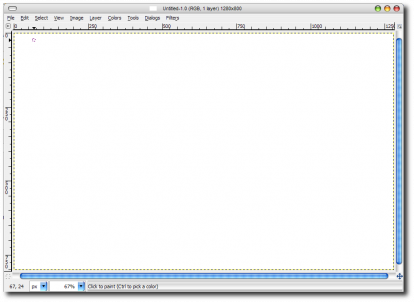
First lets open up a new canvas. For this tutorial I will be using a 1280x800 size canvas with a White background. I suggest you use the same pixel size as your screen since we are making a wallpaper for it.
Step 2:
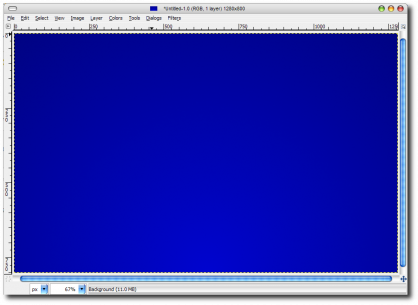
Next we need to select our Gradient tool ( press L ). In the left window under the gradient tool options we need select our Shape as a Radial gradient. Next we need to change our foreground color to a slightly dark blue color and our background a relatively dark blue color. Now click in the bottom center of your canvas and drag up towards the top center of your canvas. I usually extend it even further up past the window but it is up to you. Now your canvas should look something like this.
Step 3:
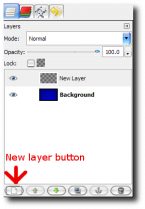
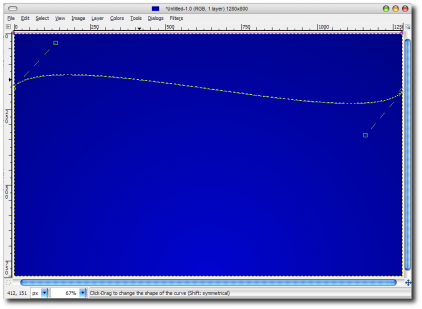
First we need to create a new layer by clicking the new layer button. Now we need to select our Pen tool ( press B ) and we need to start creating our first layer. Make four points to form a square in which our layer will form. Don't worry about the open part or trying to seal it to form a solid square. Next we need to grab a point on our line a move it. I used two points to give a wavy look to it. Once you have the desired wave we need to click the Selection From Path button on the left window under your Pen tool options.
This should put "ants" around your selection to form an enclosed four point box. Your canvas should look like this.
Step 4:
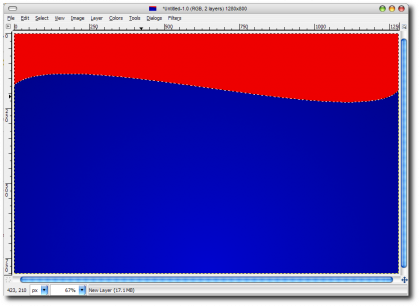
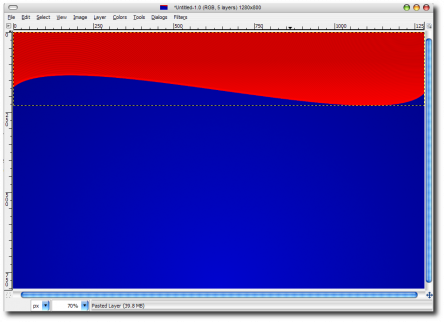
Now that we have our layer formed we need to fill it with our first color. For that we will use Red. Instead of choosing super bright colors I choose slightly darker colors to help expose the shadows a little better later on in the tutorial. So now we have filled our selection with a slightly dark red and we still have the "ants" around our selection. Your canvas should look like this.
Step 5:
Now with our layer sill select with the "ants" we need to create a new layer then apply a gradient to it. First, make sure your foreground is set to White and your background is set to Black. Then we need to make sure our Shape is set to Linear. Now click at the lowest part of the "ants" and drag to the top of the "ants". You new layer should now look like this.
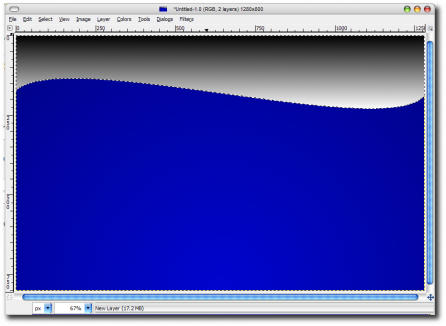

Now select the Mode > Overlay. This should give you a very pleasant dark to light effect on your new layer. This will also help darken the colors just a bit to give it a more pleasant look.
Step 6:
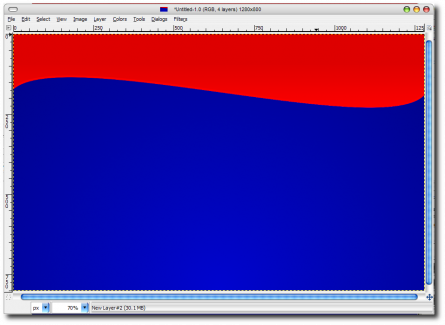
With our layer still selected with the "ants" we need to create a highlight for the edge of the wave. To do this we simply create a new layer and then we fill it with White. Then we go to Select>Shrink and Shrink by 6 pixels. This will give us a White border around our wave layer. Now we need to get rid of the left, right, and top part of the new White border. I simply used the eraser tool to achieve this. Once you have the White highlight on the edge of your wave we need to set the Mode to Overlay. Your canvas should look like this now.
Step 7:
Now comes the part where we have to create the warped scan lines. First we need to create a new canvas thats 3000x3000 pixels and has a transparent background. Once you have your new canvas us we need to add the scan lines to it. We can do this by dragging and dropping the Stripes pattern on to the canvas surface. I used the Stripes pattern but you can also use the Stripes Fine pattern as well.
Step 8:
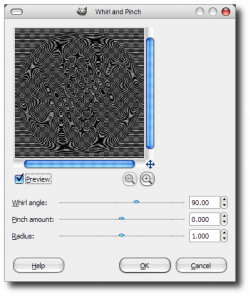
Next we need to go up to Filter>Distorts>Whirl and Pinch. Set the options accordingly. This should give you a massive area of distorted scan lines in various shapes. Now we need to select out Rectangle Select Tool and choose a nice big part of the scan lines some where around the middle. Try to be as random as possible with this. When you have your section selected hit Ctrl-C.
Step 9:
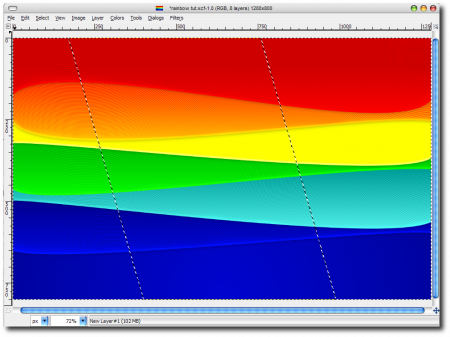
With our Scan line section copied we need to go back over to our wallpaper in progress. Press Ctrl-V to paste the scan lines onto the wallpaper. Then we need to click on our wave layer, right click, and select the Alpha to Selection option. This will give you the "ants" again around your wave layer. Click back onto the Scan line layer by selecting it in the layers window. With our "ant" line we need to press Ctrl-C to copy the section of scan lines we need. Once you do that we can turn the scan line layer off by clicking the eye to the left of the layer name in the layers window. Now press Ctrl-V to paste the layer and click the New Layer button. Now you may need to move the scan lines to fit perfect because for some reason it likes to paste them slightly off from the spot you need them. Once you have them in the correct spot we need to change the layer mode to Overlay. Your layer should now look like this.
Step 10:
With our scan line layer still selected we need to get our Eraser tool
( press Shift-E ) and select a fuzzy brush. Once selected we need to start erasing the scan lines that over lap the highlight on the edge of the wave. It will fade further back then the highlight, but thats ok. Now we are one step away from being finished with our first layer.
Step 11:
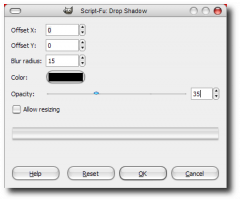
Now you can either merge all of your wave layers into one layer if you want. It just depends on if you want to come back an change something later on. Suppose you did merge them all together to give you one wave layer, plus your background underneath it. Right click in the canvas and select Filter>Light and Shadow>Drop Shadow. Use the options accordingly.
Now that you have your firs layer done you can continue on to the other layers by repeating the same step above.
Now lets fast forward to the very end where we just touch up on the final product to finalize it. This is assuming you have all of the layers merged into one final picture.
For the final step we need to create a fading blur effect that starts in the center and blurs outward towards the sides. We can achieve this by selecting the Quick Mask button in the bottom left hand corner of the canvas window. Once selected you should have a semi transparent red layer above your canvas. Now we need our gradient tool again. For this effect we need to have our foreground set to Black and our Background set to White and to set our Shape to Bi-Linear. We need to click in the middle of the canvas then drag towards the side of the canvas. This should give us a faded red section in the middle of our canvas, like so.
Now that we have our faded red area we can click the Quick Mask button again. This will give us a selected area that will look like this.
With our selected area ready we need to press Ctrl-C and then Ctrl-V. Then press the New layer button to flatten anchor the layer. Now we need to go to Filter>Blur>Gaussian Blur and set the Blur Radius to 18. This will give us the faded blur effect.
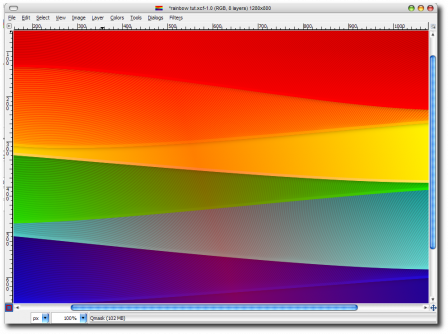
And there you have it. You have just created a very professional looking piece of art with in a matter of minutes. To top it off, you did this in a free program instead of a $999 program.
I hope you found this useful. Again, Concept credit goes to VladStudio, I translated into Gimp.
Please comment if you found this helpful and if you have any questions.
Don't forget to visit My DeviantART Page!
DO NOT COPY WITH OUT PERMISSION!!
 RSS Feed
